
Natural Lighting
Lighting is one of my favorite parts of photography. It is where I feel I have the greatest sense of freedom and creative expression. My favorite kind of lighting is sometimes the simplest of all—natural. I have used natural lighting for catalogues, editorials and portraits. I frequently use photoflex retractable two-sided (silver and white or gold and silver) disk reflectors. And this is because they are super versatile, portable, and give excellent results.

Click the play button on the video below to see me at work using natural lighting on a catalogue shoot for Kain Label.

When I have more time to set up extra equipment to get the lighting just the way I like it, I sometimes use a Scrimjim 6x6 silk in addition to reflectors. The two photos shown below (shot for a beauty editorial for Anna Magazine) were lit with a silk overhead and two silver reflectors.
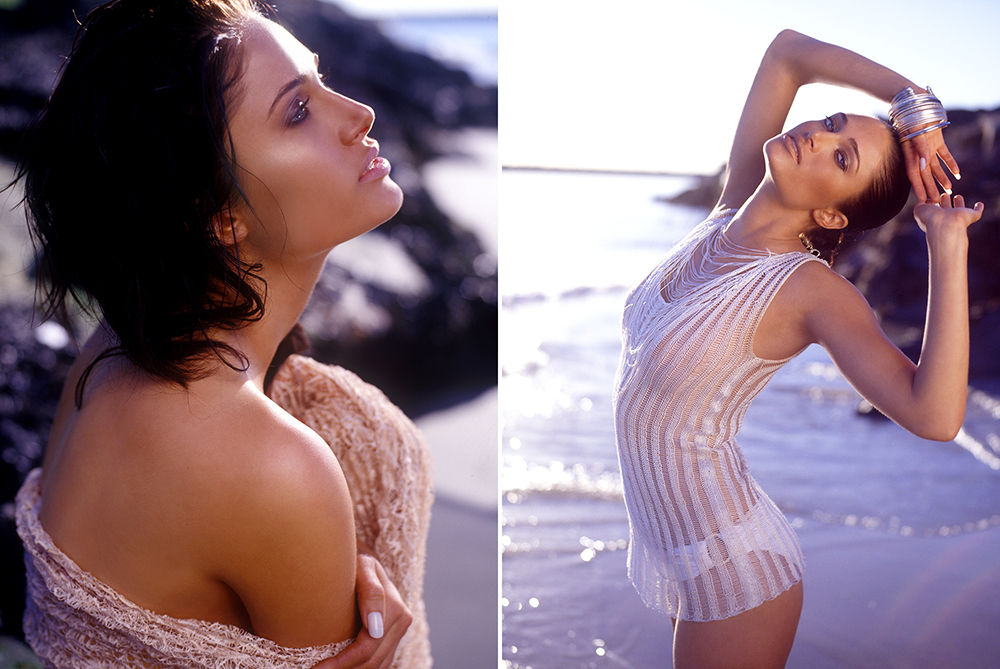
When I use the reflector as a frontal fill light, I usually use the white side, and when I use it as a highlight, I most often use silver.
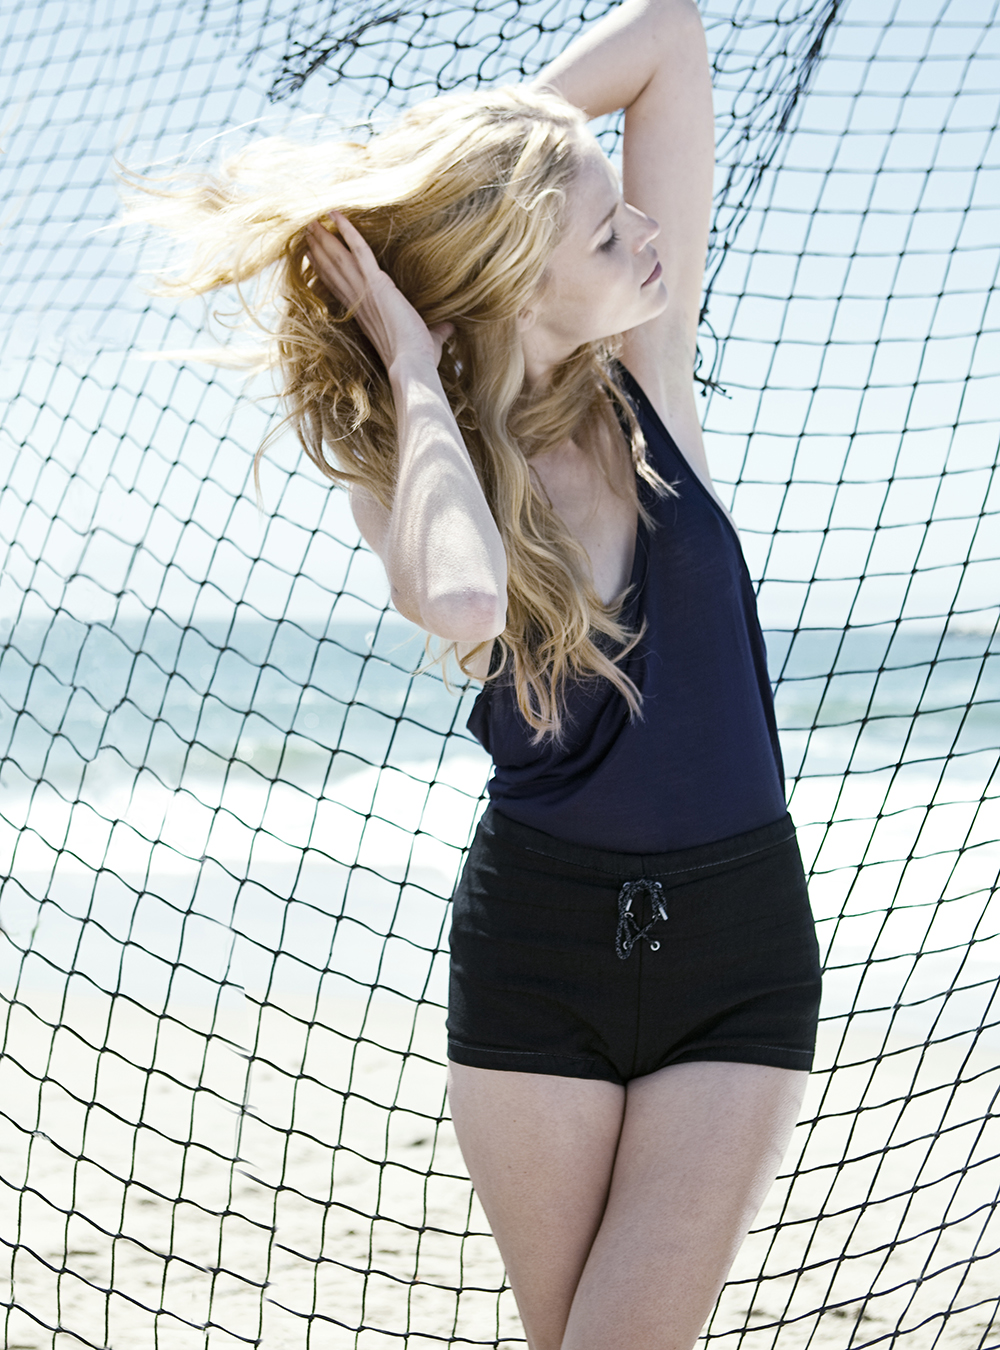
I like to take advantage of natural reflections and shadows and just use the reflector to accent the model as seen in this photo to the left.
The reason I prefer an assistant holding the reflector over having it rigged and fixed on a stand is that there is added freedom of movement for both the model and me by having an actual human being there to mimic our movements and continuously adjust the lighting accordingly.

In the best case scenario, I have at least two reflectors held by two assistants at differing angles depending on the sun’s position and the situation. Having at least two reflectors gives a richer, more professional look. Using two reflectors wisely is like having three lights at your disposal (the sun, itself, being the third and strongest light). I always aim to make the sun either the back light or a side light/highlight. If you use the sun as a frontal light, the model will most likely have trouble keeping his or her eyes open. There are rare cases where I may use the sun as a frontal light perhaps in the early morning or late afternoon when the sun is rising or setting. But most likely the lighting will look too harsh, and also it limits your possibilities for positioning the reflectors as reflector light will not be strong enough to act as a highlight for the sun.

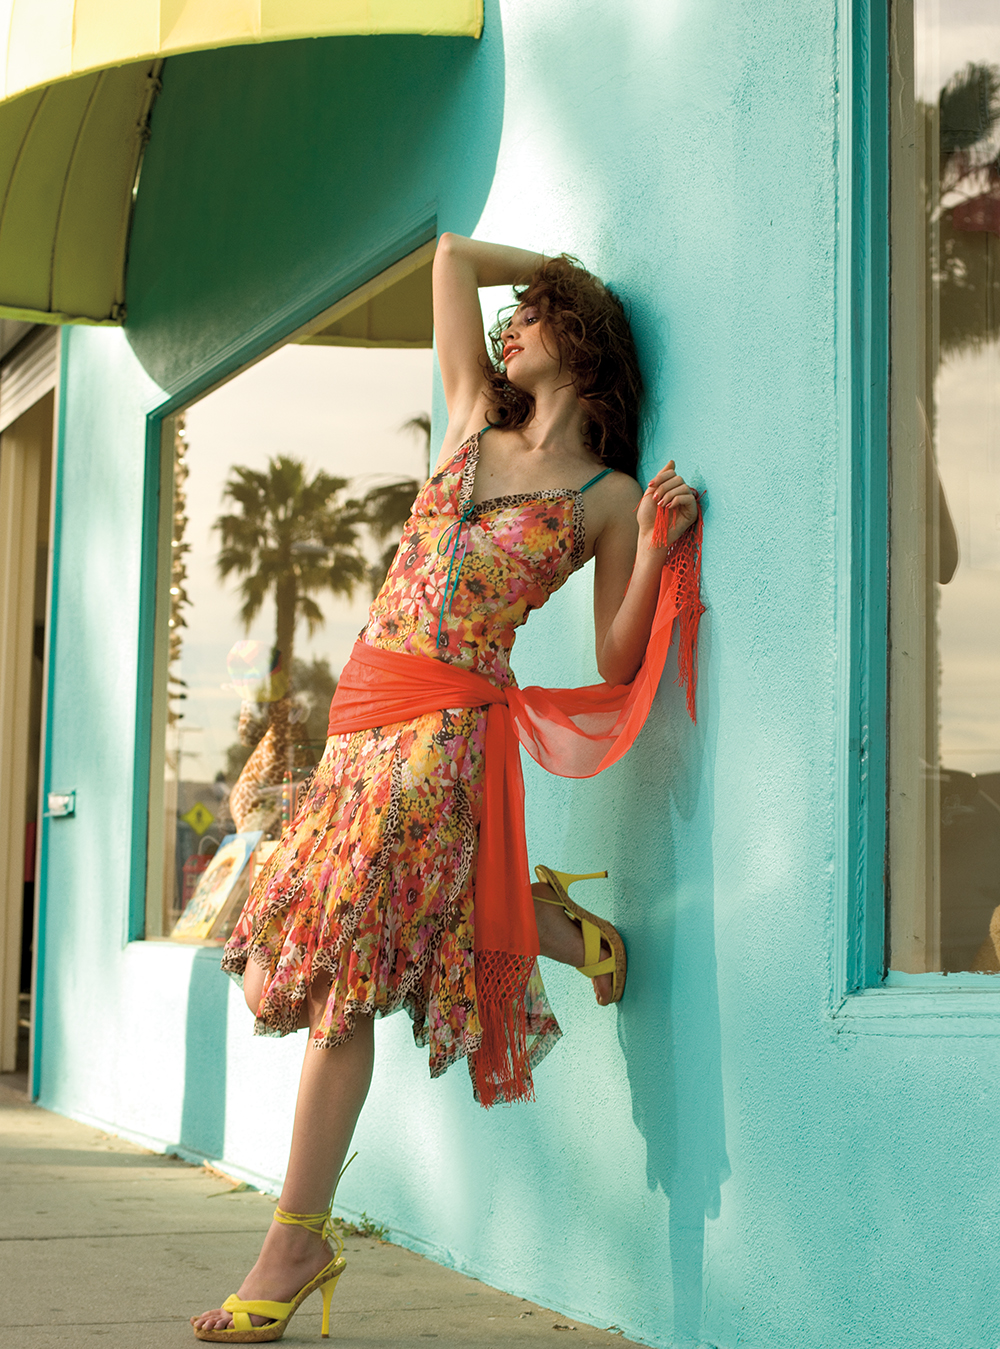
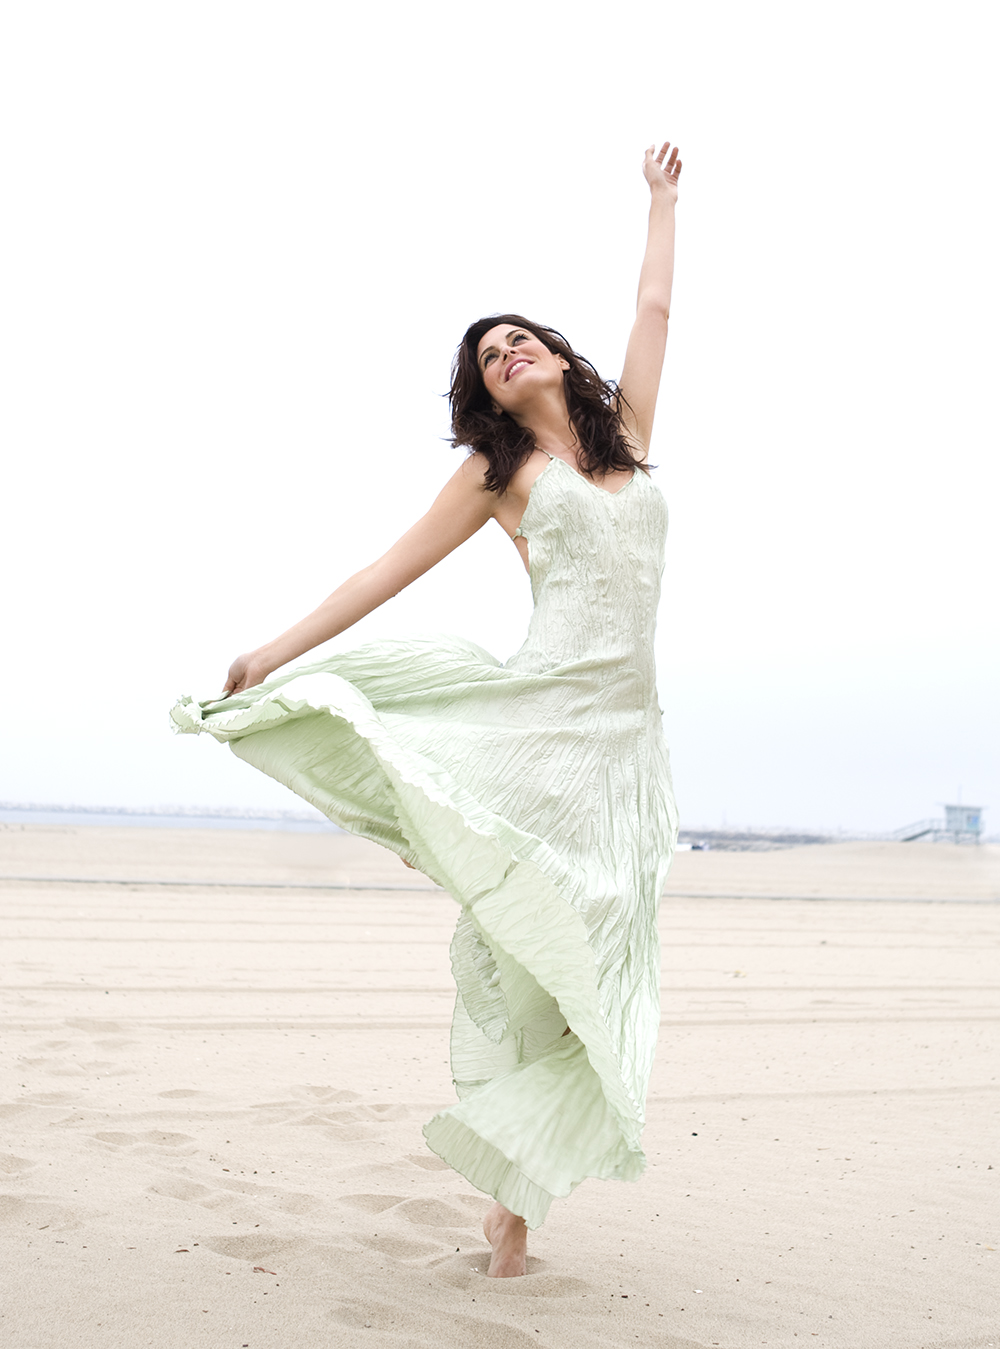
If you are in a situation where the sun is very high in the sky and the lighting is very harsh no matter how you position your model, the best option may be to either flag or screen the sun with a silk, or to position the model in the shade somehow—either under a tree or under some kind of structure (as in the photo above, shot under the shade of a tree), sheer curtains (as seen in the photo below), or umbrella.

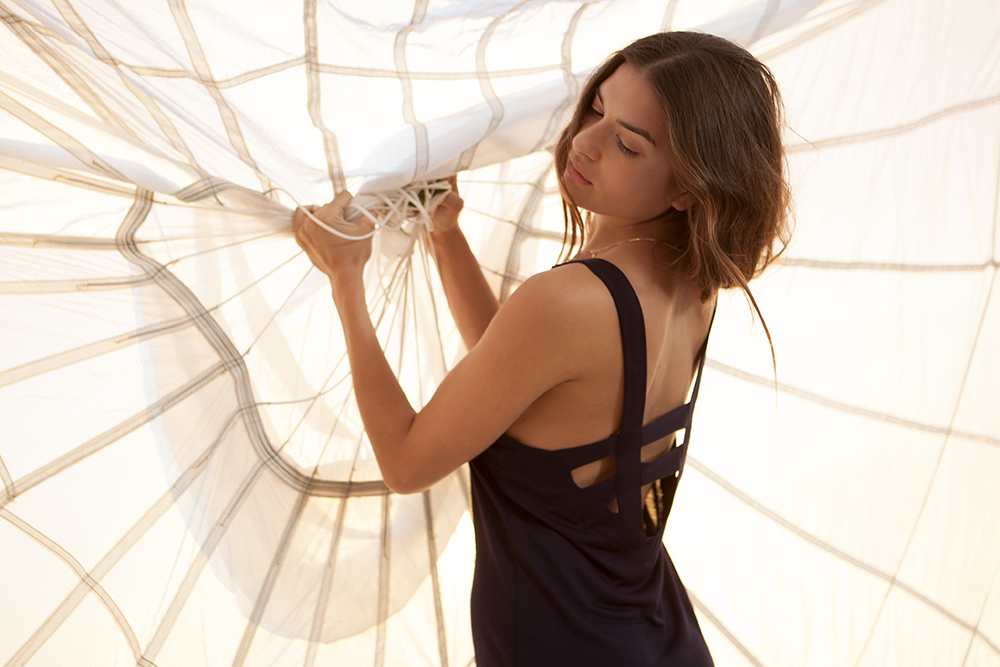
I have even used a white parachute for the purpose of softening harsh sunlight. Even when shooting in the shade, you can still use reflectors to create an interesting effect as see below (shot while the sun was setting).
I always aim to add depth to my lighting scheme. Flat light is the most boring light, whether it is artificial or natural. It is always nice to maximize the dynamic range in the image by creating highlights and shadows in addition to preserving midtones (that is unless you are intentional trying to achieve a low-contrast effect).

When using natural light, it is also important to remain aware of the position of the sun in the shoot location and to be able to predict which direction it will move as the day progresses. I usually make a tentative shot list depending on the scenery, time of year, and current weather conditions. This doesn’t mean that my plan does not change. As a matter of fact 90% of the time, the plan will change. But it is always best to have a plan, even if the plan must be thrown out the window at some point, due to spontaneous inspiration or unforeseen events.

If you are too attached to your plan, it can be very limiting to creativity. Sometimes decisions must be made quickly on the spot especially if the lighting is changing or not acting as you may have predicted. You may want to shoot against a certain scenery, however, the lighting on the model may not be ideal for shooting there. It may be too windy, or perhaps the model has a really hard time keeping his or her eyes open. I would choose the model's comfort over good lighting any day. If the model looks tense or uncomfortable, chances of capturing a good image are very low. So you must quickly find another option that is more comfortable and also has acceptable lighting for the model.
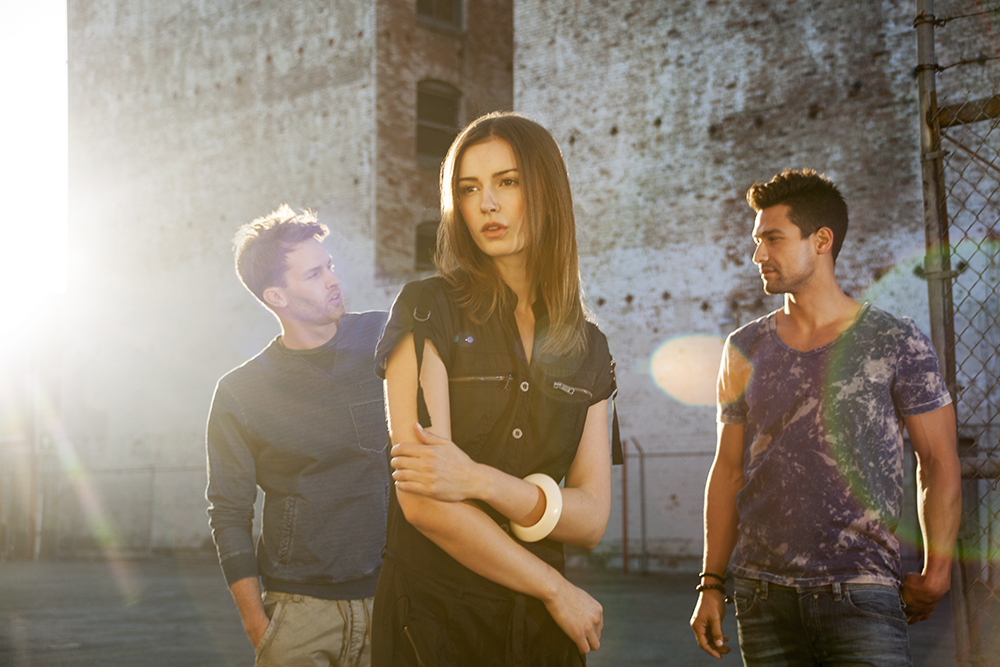
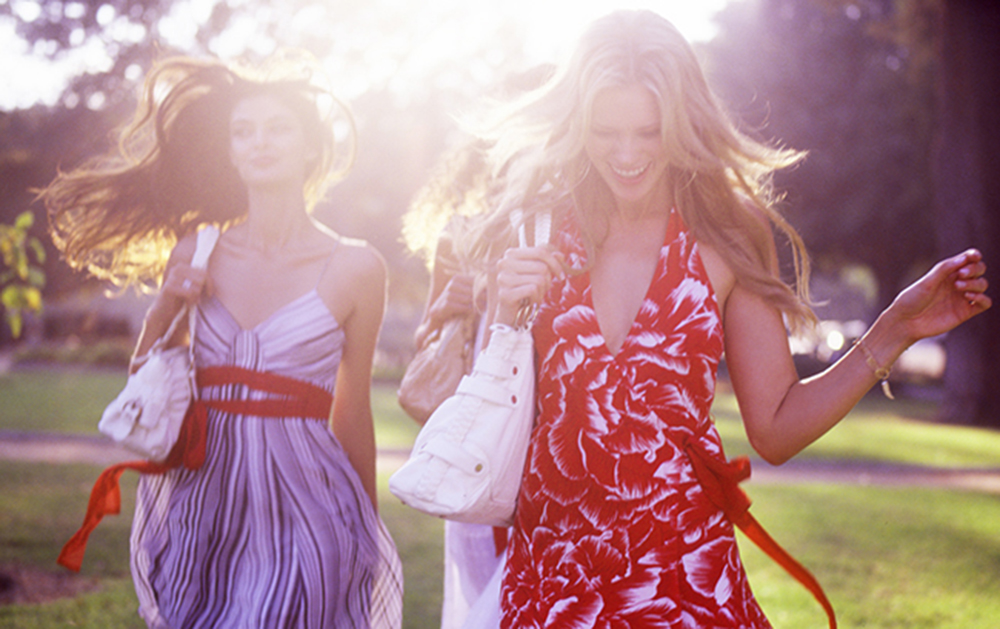
I love shooting directly into the sun. It gives the photos a bit of whimsy and lightness, like when a child looks up into the trees and has a sense of wonder at the light speckling through the fluttering leaves. It adds a sense of motion and emotion to the image.

Using reflectors as opposed to lights has many benefits: (1) you can see what the light is actually doing much easier than when working with strobes, (2) you can shoot more frames per second (strobes have a slower recycle time) this is especially handing when shooting a model in action, (3) you can move from location to location with more ease as reflectors are more lightweight and portable, (4) you save physical energy and have more freedom to experiment and be creative, (5) there is easier access to difficult to access or tight squeeze locations that might be otherwise prohibitive with cumbersome equipment.

On an extremely overcast day, natural lighting can be the most challenging, but it is still possible to make it interesting. I often aim for a low contrast look or a blown out look in this situation.

Sometimes if the weather is really dreary, I just cave in and pull out my Canon 600 EX-RT flash and use it as a fill, or I use a portable unit such as a Quantum 400 or a Profoto 7B as a side or back light to make it appear like the light has more dimension.
I have even shot a catalog in the pouring rain once because the client could not cancel due to time constrictions and they insisted on shooting outdoors as planned. This was probably one of the most challenging situations I have ever faced, but I just pulled out my Quantum 400s and several umbrellas for protection from the rain, and did the best I could creating a moody effect.

Hazy days can offer the best lighting possibilities (as seen in three photos below). It is like having a large silk over the sun, softening the light just right and also making it possible to still reflect a good amount of light. This condition can be very interesting for lighting, but unfortunately, it is not as frequent as we might like in Los Angeles.

More often we have days when the light appears in and out from behind the clouds. This can be annoying because just as you have chosen your camera settings, the light changes again. What I do in these situations is have two separate camera settings (shutter speed, aperture, and ISO)—one for full sun and one for when the sun is hidden behind the clouds. This way I can quickly toggle back and forth as the sun goes in and out.

Sometimes I like to use natural light diffused through a window or skylight (as seen in the first three photos below). Just because the light is diffused doesn't mean you cannot reflect it. This light can be very soft and flattering, but the depth of field will be very shallow because it is basically a low light condition.


Or if you position the model at a greater distance from the light source, you can create a darker moodier effect (as seen in the four photos below).


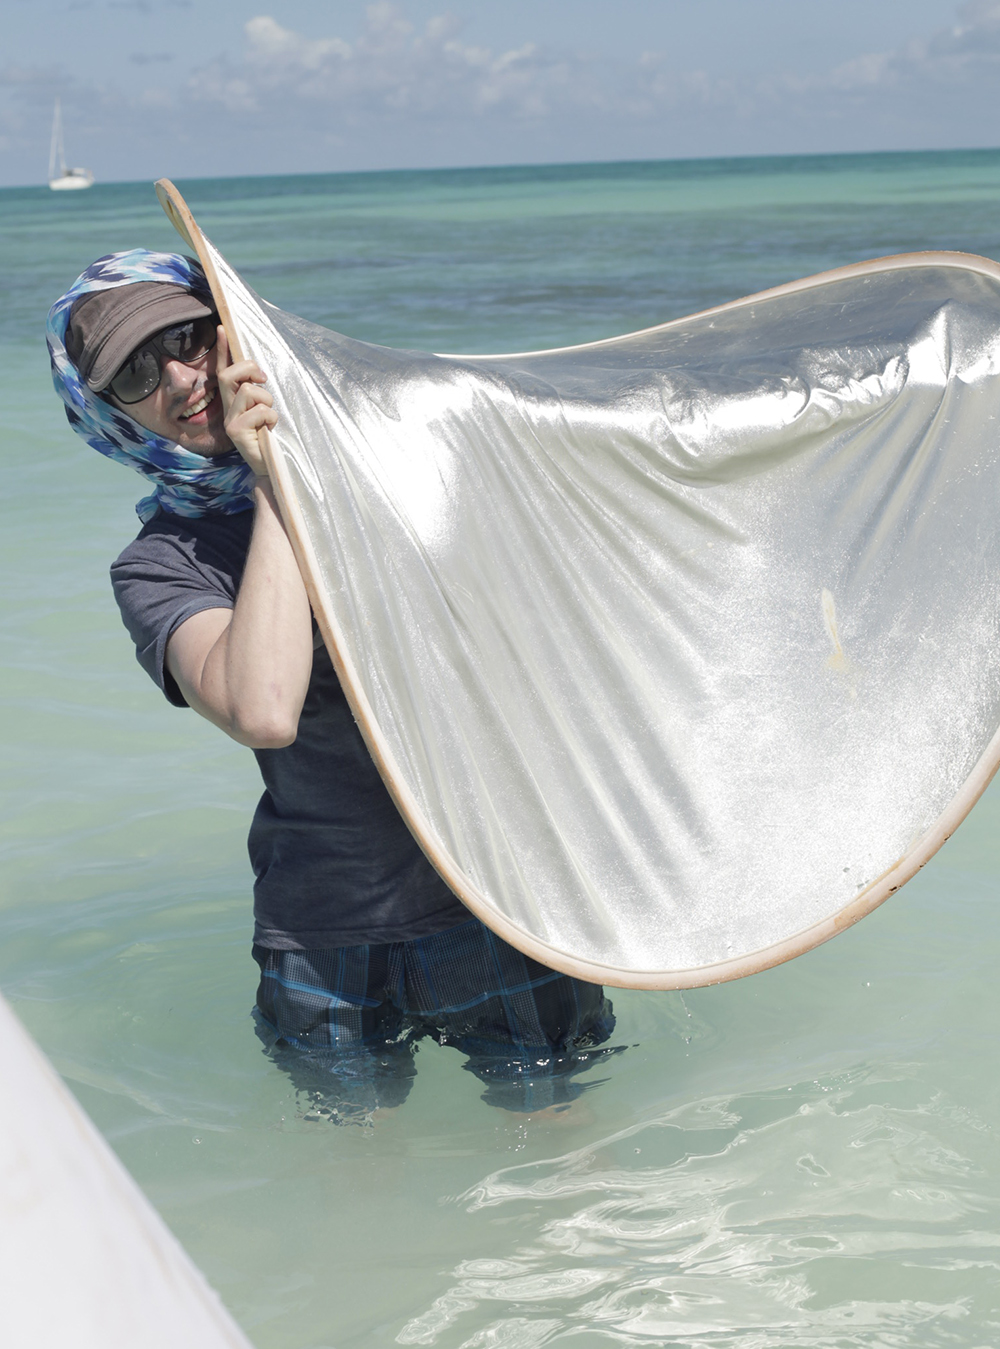
One drawback to shooting with natural lighting and reflectors and silks outdoors can be the wind. Often shooting on the beach or in the desert, there can be strong wind, and it can be difficult for one assistant to manage holding a reflector in place. Sometimes the assistant will have to use his/her feet in addition to his/her hands to hold it in place or use a c-stand and a couple of sandbags. I have even thrown some sand onto the bottom to weigh the reflector down, if I want more freedom to move. Sometimes it may be necessary to have two assistants hold one reflector to keep it in the right position. In extreme cases assistants must use all four limbs and body weight to control the reflector in the wind. But keeping the light in the right place and having an assistant who can see the light moving and judge based on your directions is absolutely key to getting the desired results.
In any case, using natural light always requires adaptability and resourcefulness no matter what. But that is exactly what makes it more fun, creative, challenging and often rewarding in the end, and why it is my favorite lighting to work with.